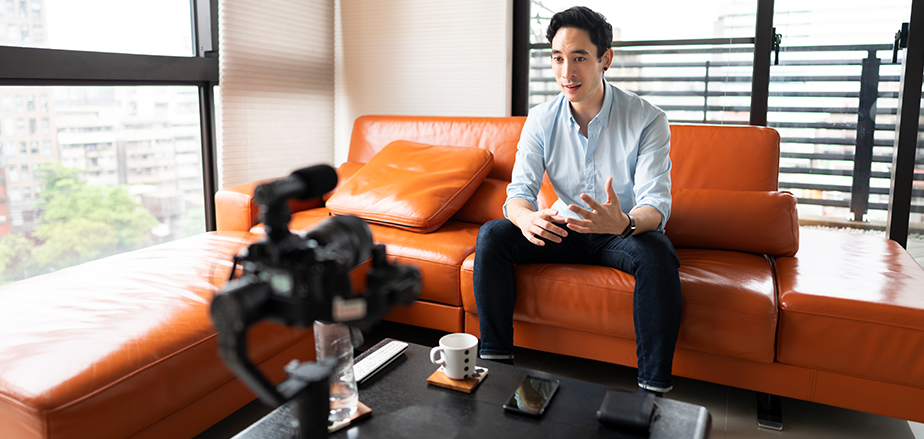
The idea of videos is getting more and more appealing. Advertisers and influencers alike are turning to videos to express themselves and their brands. However, creating aesthetically pleasing and educational videos is not as easy as it might seem, especially if you aren’t aware of where to start.
From the right camera, good lighting, determining your video objectives, to much more, you need to consider several elements when shooting a product video. Here are some of the most effective tips that you should become familiar with to shoot a phenomenal product video at home.
1. Make a Storyboard Or Script for Filming
The most effective campaign videos are the product of diligent preparation and planning. Consider placing together a concept and draft a script before even thinking about having your photography equipment set. A filming script is similar to a narrative for your video, plus visual storytelling allows you to identify exactly which shots you require before you begin shooting.
You shouldn’t have to necessarily create a work of art for your script. In reality, you do not have to sketch it. As a narrative, you could use a sequence of still images, sketchy sketches, or pictograms — whichever is most convenient. When you start recording, it is essential to know which shots you’ll need. Nevertheless, the more effort you make into preparing your advertising video, the less inclined you are to lose content afterward.
2. Set the White Balance on Your Camera Manually
You can compensate for all types of temperature fluctuations by manually adjusting the device’s white balance — a procedure that simply informs the camera what “real white” appears to look like in a setting to prevent color casting. Although many cameras offer an auto-white balance setting, It is strongly advised to know how to use it manually.
This eliminates the need to depend on your equipment to generate a properly color-balanced photo. You can discover how to do it by consulting your camera’s user manual.
3. Analyze the Acoustics of the Area Where You’ll Be Shooting
Assess the acoustics of the place where you’ll be filming before you begin filming. Could there be a reverberation? If that’s the scenario, seek some other location to film. Many sound conflicts can be addressed in post-production, but a minor echo also might be difficult to eliminate.
You don’t have to soundproof a meeting room at your workplace, but keep the acoustics of the setting in mind as you hunt for potential filming locations. It can save you a lot of uneasiness in the long run.
4. Spotlighting Your Subject Is Not A Smart Idea
You should typically avoid positioning your subject in strong puddles of direct illumination unless you’re filming a Theatrical musical. Principal light sources that are too intense or too dark might distort your image’s contrast and brightness, as well as cast unattractive projections on your subject.
There are a variety of light effects that can be utilized to generate various effects. Additionally, make sure to use a good-quality online video editor to give your videos a smooth and appealing finish.
5. Practice to See What Works And What Doesn’t
Don’t be scared to try new things until you’ve gained some expertise. Once you’ve shot a few videos, edited the content, and further finalized it, you’ll be able to fine-tune your work both within the field and in post-production. You may decide to discard the first few films and create an enhanced version once you’ve figured out the dos and don’ts.
It’s a smart option to let someone you trust go through the completed videos and provide feedback. You’ll be amazed at what you can absorb from some constructive criticism.
6. Stationary Zoom-in” on your Brand Products to Reveal Features
During the shooting procedure, strictly zoom in or out. Stop, rotating the screen or tripod to zoom in to a closeup snapshot of the details of the product, and shoot again if you have to exhibit various sides or photos while showing.
Following, when video editing, users can merge the product series clips together. Don’t be hesitant to shoot from a variety of angles because you can combine them all in post-production to create a superior product video.
7. Edit Edit Edit
When it comes to editing, don’t be hesitant to streamline, scrap shots, or reshoot. What you’re attempting to do is incorporate the best elements of your video footage to produce a desirable product story. When shooting a 20-minute video, you could time-crop the majority of it if you’re using suitable video editing software.
You may also utilize some of your online editing software’s filters to disguise some of the flaws that arise while recording low-budget videos. Keep in mind to avoid going overboard with the filters and effects. This might also help guarantee that the aesthetics of your videos are similar throughout all of the product videos you make.
Take into account acquiring a royalty-free soundtrack and editing in another professional voice-over shot in high quality without any background noise to eliminate copyright difficulties. You could further use the editing software to layer the narration in the finished content creation copy and adjust the sequencing to fit.
Bottom Line
These were some of the prime tips and tricks that can help you design only the most pleasing and educational video. A brownie tip is to see what makes the most sense for your brand and your products and look at other brand videos on platforms such as YouTube or any competitor websites. This will assist you in planning your video recording strategy before you start.

